Posts

Showing posts from 2013

News, news, news

Image
I can't belive it's been more than a month since I last posted! We haven't crafted much since then, but we've bought some interesting things: First of all, I bought Operetta a new car. It's Ken's Mini Cooper, but I found it half of its price at Carrefour and couldn't resist buying it. It works fine with MH dolls, but they look a bit dipped in the seat (I guess that I can fix that by seating the doll on a pillow) I like this car because it fits Operetta's style, but I have to do something with the license plates (they say "Ken") and maybe some covers for the seats. Anyway, its a good quality car and the doors even open (many Barbie cars don't). Check it out I also bought for her this "Maul Sessions" fashion pack and took her some photos in Scaris We also found Music Festivals Venus, which I was looking for. I prefer signature Venus outfit, but she was getting hard to find and I also liked this one. I'm very happy

School supplies: notebooks

Image
Hi! It's been a while since I last wrote in here, but I'm really busy with real-life stuff and I haven't felt like blogging. As I told you on a previous post, I had been working on some school supplies printables for our dolls, and finally this week we found time to print them and take some photos. I tried to make them to match each doll style, so each one is unique. Here are Ghoulia's: I forgot to tell you that we bought a 13 Wishes Howleen doll. I wanted to make a post all about her, but as I said before, I don't have much time. Of course, we made a notebook for her: I made some of them using resourcest that I found on the internet, but I made other designs and patterns myself. -Hey Cleo, would you help me with Mad Science? We don't have the highest quality printer so some of the colours didn't come out very good. Operetta's notebook was supposed to be bright red, and Robecca's notebook pattern was brown instead of black, but it doesn&

Sunday crafts & rastro finds

Image
Hey ghouls, how are you doing? Our sunday has been a great day full of crafting success and some cool finds for our dolls. We went to the rastro (some kind of flea market) to find some cool fabrics to make stuff for our dolls and we found a market stall that had some old clothes 2 pieces for 1 €. That was such a bargain! We ended up buying 6 pieces of clothes for just 3 €.   We also found and old Barbie motorbike for 5€. It's a little bit too big and needs a little bit of repaint and customization, but I think it will work. Once we were done with our shopping, we went back home and started working on a new sceneario for our photos. As I told you on a previous post, I wanted to have a brick wall background, but I couldn't find any scrapbook paper or adesive paper that suited me, so I did my very own one using photoshop and some resources I found on the internet. Here it is I made it smaller than our Scaris background because I want it to be like a wall in which our do

New ghoul: Operetta

Image
A new ghoul has just joined the gang: Dance Class Operetta! I went to the toy store in order to buy Ghoulia's deluxe fashion pack and I saw her there and I couldn't resist buying her. I love her rockabilly style and I'll think we'll enjoy taking photos of her a lot. See some of  her first pictures

Ghouls in Scaris

Image
Hi ghouls! Sorry for our absence, but we haven't been able to blog to you lately, but we've been working on some stuff. I've been designing some notebooks for our dolls, so they can take notes in class and get better grades, but as usually, I got obsessed and did lots of them, even for dolls that I don't even have. I hope that we can print them sometime during this week. We've been also on a some kind of 4 in 1 diorama. We want to make some kind of room scenario using a box and some different scenarios on the outside. We've been searching for an stone brick scrapbook paper or adhesive paper, but we haven't find anything, so we'll have to think of an alternative. At the moment, we have one scenario: Scaris. We took some photos of our ghouls in there Wow! What a big city! Smile to the camera my dear ghoulfriend

Clothes rack

Image
As I have been buying new clothes for the dolls, we thought that it could be a great idea to make a clothes rack so the ghouls would have their latest fashions organized. We wanted to do this with popsicle sticks, but the ones we had were too short and narrow and we couldn't find larger ones, so we ended up doing it in thin wood. First of all, we started drawing the pieces: two larger pieces for the sides (2'5 cm width and  cm tall) and a smaller one for the base (2'5 cm width 10cm large). For the bar we used a larger toothpick (I'm not sure if that's the name). We drew all the pieces together in order  to saw less so all of them together looked like an "L". I wish I had a better photo Now is time to saw the wood. I have to say that I'm really bad at woodworking, so Mr. Monster saw almost all of it. He did a good job despite we don't have the best tools. Once you have all 3 pieces, sand the edges carefully because if you don't do it you w

New ghouls in town

Image
Guess who arrived last friday? You're right, Mad Science Ghoulia and Cleo. In fact, we were received them on monday, but Ghoulia's hand was damaged so we returned it and since friday we didn't receive the new ones. As I received them on friday night and I had to wake up early the following day, I couldn't spend the whole night playing with them and I had to wait until saturday. So we ended up on saturday night deboxing Cleo (we had already deboxed Ghoulia) and taking some photos of the welcome comite (Clawdeen and Robecca). The photos don't have the best quality, not only because we use a mobile phone as a camera, also because we usually take photos with natural light and as some of this were taken at night, we only had our (bad) bedroom light to work with. They're already good friends Fortunately, today we had the whole morning to craft and take some photos of our ghouls. We have done another patio chair to match the other chair and the table. Furtherm

Monster bakery

Image
A s I told you on a previous post, we had been trying some modeling with modeling clay and we did some doll bread to start with. We got the idea from a tutorial from My Froggy Stuff (surprise, surprise). We didn't do it in the same way (on the video she makes some sort of plasticene herself and puts it in the oven, but we thought it would be a mess) but we used some of her ideas. We used Carioca's modeling clay which is not too expensive, about 2 € more or less. We chose this particular one because it doesn't need to be baked in the oven and you just have to leave it dry overnight. Wet hands are needed for working with it, so I recomend you have a throw-away plate next to you with some water. We molded it following more or less what Froggy Mama does in this video. Once we finished, we let it dry overnight Then we painted it using soft pastels, first scratching the pastel with a pair of scissors until we got some powder and then rubbing it with the fingers through th

Great day in Dollywood

Image
Today it's been a great day of findings. We had to go a depot store that is in a neightbouring town  to buy some crafting supplies, and we needed to take the car. On the way to the depot store, we stopped by a toystore and we went in saying things like: "Oh, they'll have nothing, like last time we checked" and suprisingly, we found that they had many of the things that I was looking for! They had Dance Class Operetta, basic Frankie and all the Deluxe Fashion Packs . There was only one Robecca's fashion pack left so I bought it. Robecca seems very happy with her new look. Unfortunately, they didn't had the School Clubs fashion packs so we couldn't buy neither Clawdeen's nor Ghoulia's. I think that Clawdeen's is a bit jelous, so we'll need to craft something specially for her soon ;) We've also found a hot glue gun  that we really need for less than 2€, and some thin wood to make some doll furniture and a saw for less than 2 € too

Summer Crafts: Patio table

Image
In our last post we showed you how we made a patio chair following a tutorial of My Froggy Stuff, so today we've got a new craft: a patio table to match our chair. Unfortunately, we didn't take many pictures of the process, but I'll try to explain a little bit how we did it First of all, we lined up some popsicles sticks (we used 8, but you can use as many as you want) and then we glued two sticks across (just like we did when we did the chair seat) and cutted out the excess. We chose to make our table in a rectangle shape, so we had two sides shorter than the other two. We cutted two sticks with the same lenght than the smaller sides and glued them just like in the picture below. And here comes the most difficult part: for the other two sides, we cutted out two more sticks, but instead of cutting them the same size, we made them smaller in order to place two more popsicle sticks to make the legs of the table (we highly recomend to mesure it carefully). Just in cas

Summer Crafts: Patio chair

Image
As I told you on my last post, we were working on a patio chair for our dolls, getting based on a tutorial we found at My Froggy Stuff. This morning I didn't have to go to work, so we maked the most of it and finished it. Here's the original video In my opinion, ours doesn't look as professional as hers, but Mr. Monster said it's looks pretty good for being the first one we do. On the video she makes first the seat and then the back, but we did first the back because we thought it would be easier to make sure that both pieces had the same width. Once we got the chair assembled, we sealed it with podge from the brand Vallejo and then we painted in this lovely pastel teal colour from Amsterdam acrilic paint. Maybe tomorrow we'll give it another coat of podge to make it shinier. Tell me what you think so far. We're thinking of making another chair and a matching patio table, maybe if we have time tomorrow we'll give it a try. See you on my n

Crafty sunday: first school supplies

Image
I've got so many doll ideas and so very little time to do them. It's not just that I don't have many spare time, but I've also want to do other many things like going to the beach, draw, read... Today just happened that we woke up too late to go to the beach, so I told Mr. Monster if he'd like to work on some dolly stuff and he said yes. Then I went to search for my old paints that I bought when I was at the art school and we started crafting. We wanted to make some school supplies, a clothes rack and a patio chair (following a tutorial that I found at My Froggy Stuff youtube channel), but unfortunately, we only had time to make some color pencils. Making this is pretty simple and you might think it doesn't have any merit, but it was the very first time Mr. Monster worked with paint and we decided to start with something simple to"break the ice". As I said, it's pretty easy to do this: you just have to take some toothpicks, cut them in the middle

Take away printables

Image
Hi! It's been couple of weeks since I last posted. Today I've got good and bad news. The good news are that I've done this Monster High themed take away boxes and that today I've found the time to print them , and take some photos of them. (Truth is that I had the design ready a couple of months ago, but I didn't want to show them till I hadn't the Coffin Bean collection ready, however, today I just felt like doing this instead of the Coffin Bean stuff). I made them using a template I found at printminis.com and then I draw the design myself using Adobe Illustrator. Well, here's a photo of Clawdeen showing one of them I made two designs: one in golden yellow (like the one in the photo below) and anoher one in something that was supposed to be royal red but (and here come the bad news) I may not have the best quality printer and it looks like almost brown. You can judge from yourselves. I'm seriously considering buying a better quality printer, bu

Fixing a messy hair

Image
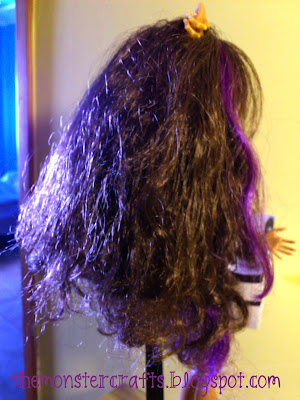
A few months ago we bought an Scaris Clawdeen Wolf doll and as soon as we deboxed her, we realized that her hair was a mess. She was supposed to have wavy hair, but it just looked tangled and messy. It was so messy that combing it was a nightmare.Here's a photo of how it looked. I didn't know how to fix it, so I asked to the wise doll lovers from Doll Observers , and yes, someone had the answer for me. Thanks to Annette, who gave me the tips (and whose Flickr you should visit), I managed to make Clawdeen's hair look much smoother. The solution to this problem is pretty simple: You just have to comb your doll's hair, pour a little bit of boiling water over her hair and comb it again. Repeat this steps as many times as you need. Easy huh? Waiting for her hair to dry  The more you comb your doll's hair, the straighter it will look, but if you want her hair to look curly, you can pour boiling water , put her some hair rollers and wait until her hair dryies

It's been a long time...

Image
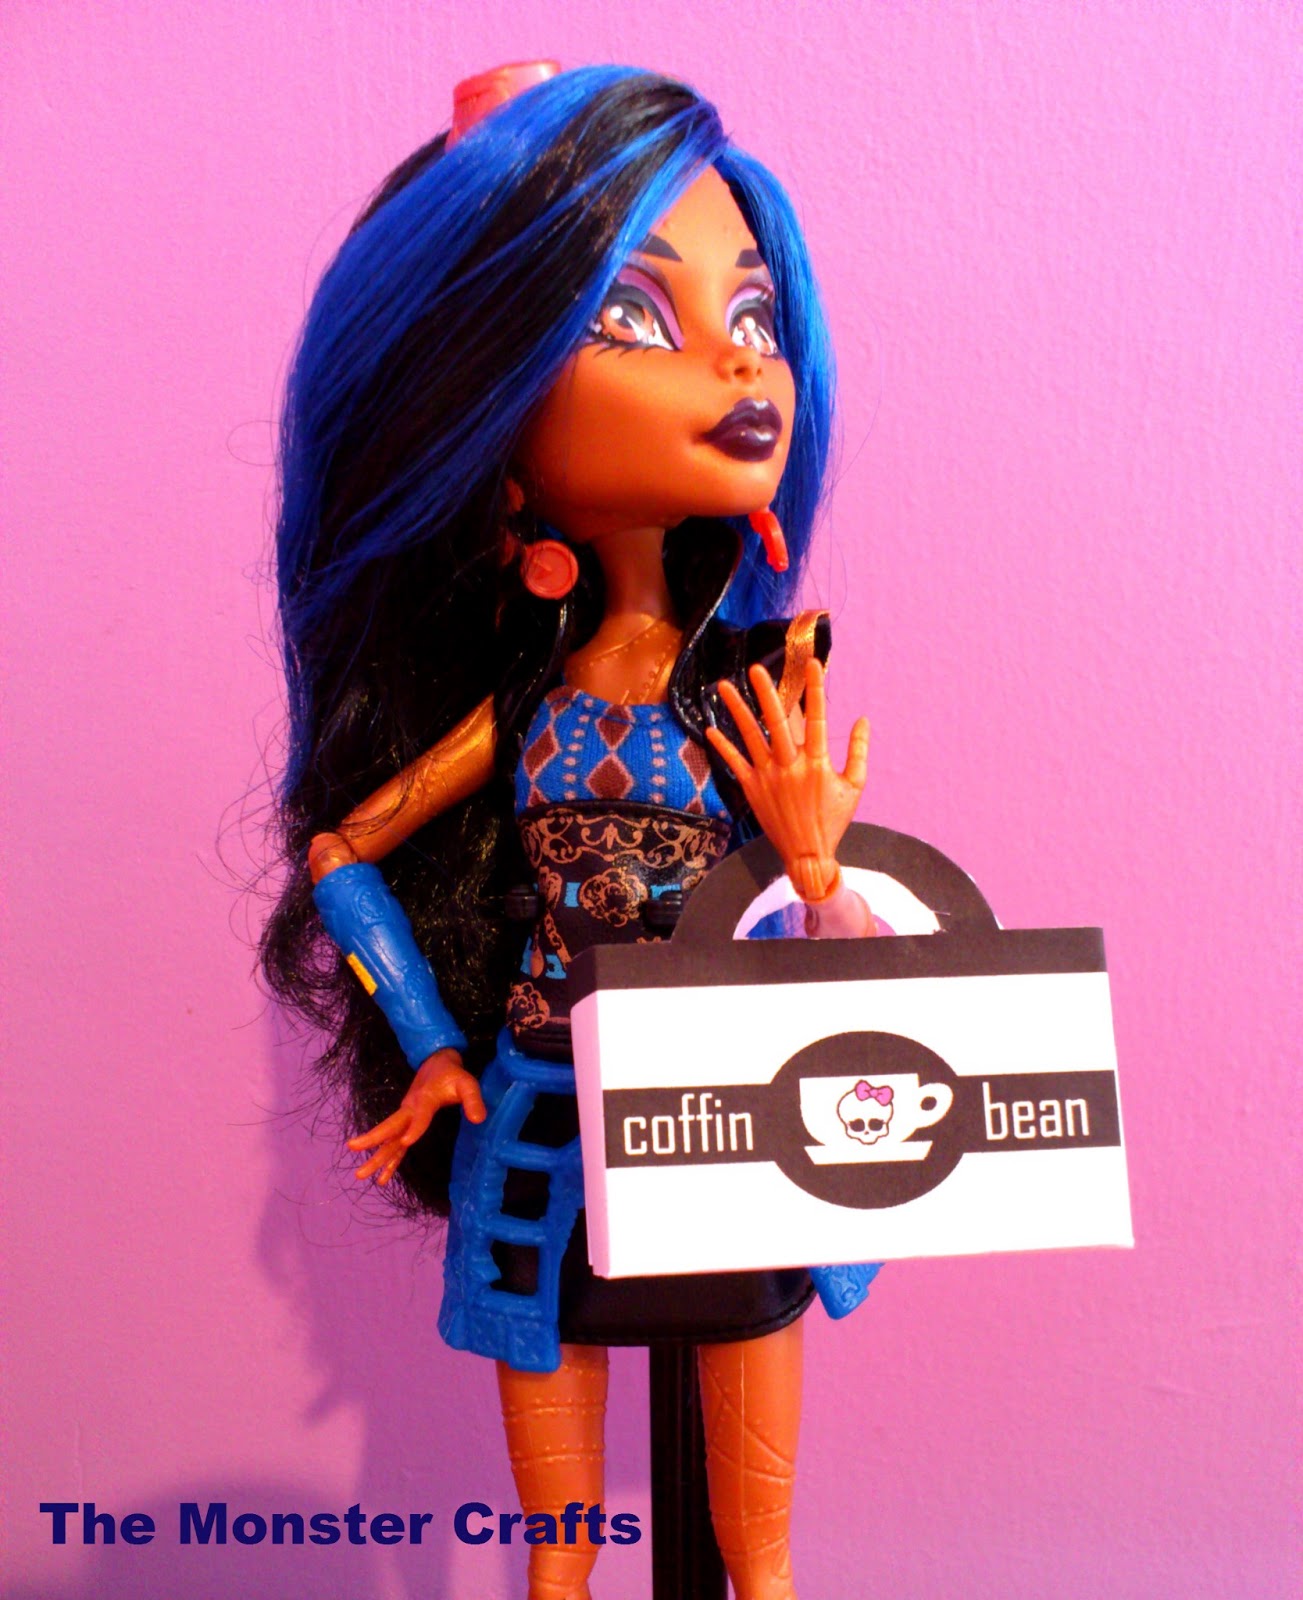
... since I last posted on this blog. My apologies, but I have started a new job which leaves me with very little  spare time. Furthermore, I've been busy with my University appliance stuff  (you know, paper work stinks). I've been waiting all week till sunday come to finish my Coffin Bean printables and my brand new take away themed printables, and when I was about to print them, I've found that the printer doesn't work (grrrrrr.....) Anyway, I was so impatient to take photos of my dolls, that I just take those trials I made on average paper and took some photos. Here's a photo of Robecca. I need to improve my photoshoots quality, it's already in my "to-do- things" list, with a bunch of stuff that I'd love to do but I just don't have the time. I hope I can blog to you soon.  Dolly cheers.

Lola needs you

Hey ghouls. Our bloggy-friend Lola's mini homes has just entered the Undersized Urbanite contest and she really needs our votes. You can check out how stunning her dollhouse is here and cast your vote for Ginger here . You can cast up to three votes, but only one for each house (and I hope one of your votes goes for Ginger). Come on, we'll still have 6 days to vote for her house.  Please, be a nice ghoul and vote for her. Blog to you soon!

Coffin Bean dissaster

Image
As you may know,I've been working on my Coffin Bean printables. I designed some boxes, based on a patter I found at printmini.com and truth is that I don't really like them. I made a test first on average paper and then I fixed the mistakes I found on the design. This morning  I've  printed them on card paper and I've found that something doesn't work well. Here's a photo. The tap doesn't close properly on the smaller one and on the bigger one I glued something that wasn't supposed to be glued and now I have to close it with the tap outside the box (but truth is that I don't dislike that). I'll try to find more patterns for boxes and I'll redesing them. At least, they've got the right sice and fit well inside the bags I'm not very happy with the result, but I know that I have to learn from my mistakes. Please, tell me what you think so far. See you on my next post