Even since I started making these "Mix and match" backgrounds, I've been using the same plain white floor in most of my photos. For the longest time, I've been wanting to make a new floor design that would add some texture to my scenes. Thanks to a combination of getting side-tracked with other projects and me working at such a slow pace, I never got around it. But, in early September, the stars aligned, and I started making this hardwood floor. Originally, I was planning on making a marble effect floor, but since fall was around the corner, I thought this could be more suitable for fall-themed photos.
As per usual, this post was meant to come out a bit earlier, but right after I published my last post I got a really bad week of migraines.
For this craft you will need:
- A plywood board or any cheap wooden board that holds glue well.
- Popsicle sticks. Roughly, you will use at least 200.
- White glue.
- Pruning scissors.
- Stain or paint (optional).
I am using this board that is often used for school projects. It's pretty affordable and easy to find. Mine is 65x40 cm (25,59x15,75 inches), but looking back at it now, I think I could have made it a bit smaller. Originally, the board was bigger, but I asked for it to be cut smaller.
Measure the size you want your planks to be. I wouldn't make them too small, or it will take you ages to finish your floor. I made mine at 9cm (3,54 inches). Mark and cut them.
I would suggest cutting a bunch of sticks before start gluing. That way I feel I wasted less glue and I worked faster.
Using white glue, start gluing the planks in place.
When you get to the bottom of the row, you might need to cut your popsicle to fit it.
One very important thing that you need to keep in mind is that you need to start with a smaller plank on the second row, to create a more realistic pattern. I don't know if an in-depth explanation is needed, but I'm going to try to explain this as well as I can. Hopefully, the photos will give further clarification if anything is confusing.
One simple way you can make this is by starting your second row with a smaller piece that's the same size as the bottom piece from your last row. You can also start working from the bottom of the row all the way to the top. This will work as far as the small piece is between 1/3 and 2/3 of the full-size plank. Mine is roughly 1/3 of the full-size plank.
I kept second guessing myself if this pattern wouldn't be too obvious, so I changed it. Instead, on my second row I started with whatever is left after cutting that bottom piece of the previous row.
For the third row, I started with a small piece, the same size as the bottom plank from the first row.
And then go back to gluing a full-size plank.
There's not much more instructions to give here, just keep cutting and gluing sticks. It's pretty monotonous, so I had some podcast or Youtube video playing in the background while I was doing this. By day 5, this is what I got.
I worked in batches of 40 to 60 minutes, and I didn't seem to progress much. Also, at some point, most of the popsicles I had were faulty. I had to open up all of my popsicles bags (I had around 6) to find the ones that looked the best, and I still had to buy 4 more bags. Here's an example of how some sticks looked.
Having to sort out the sticks added some extra time to the process. I got all the packets in the same store and from the same brand, but not all the bags had the same quality. In one of them, I had to discard around 2/3 of the bag. I did try to use some of the faulty ones for the small pieces, so they wouldn't be a complete waste, but there were still lots I couldn't use.
Finally, almost two weeks after I started, I managed to finish it.
I did make a few mistakes here and there, and the gap between some of the planks is too big, so I'm going to try to fix it using wood putty.
I used a plastic spoon and a piece of card stock to help me get the putty in there. I'm not going to fill all of the gaps, just the ones I think are more noticeable. Once the putty dries, sand it down if needed.
Now it's time to paint the whole thing. I'm using this water based walnut stain that I previously used on the doll-size pergola.
I am applying the stain with a brush, giving thin coats and extending the product as much as I can. Some people like to use a cloth when using a stain, but that's up to you. Just remember to paint following the direction of the wood.
Here's the finished result. It looks very washed out on this photo, but it looks better in real life.
Now it's time to test it with our dolls. I wasn't feeling very inspired, so it took me a while to get photos that I was happy with. First, I want to see how it looks with the Sea Glass wall. Here's a pic of Lea.
When I was taking photos, I wasn't sure about this combination, but now looking back at the photos, I quite like it.
I wanted to test it with backgrounds that are quite different between them, so I went for the Orchid wall. I'm not sure about this combo, although I like the first photo from this post.
One of the reasons why I picked this color is because I wanted something that would look good with the coral wainscot and a neutral wall. So, I did try combining the Dove Grey wall and the wainscot, to see how it would look. The floor looks beautiful with the coral, but I feel it makes the wall look more cold toned in contrast.
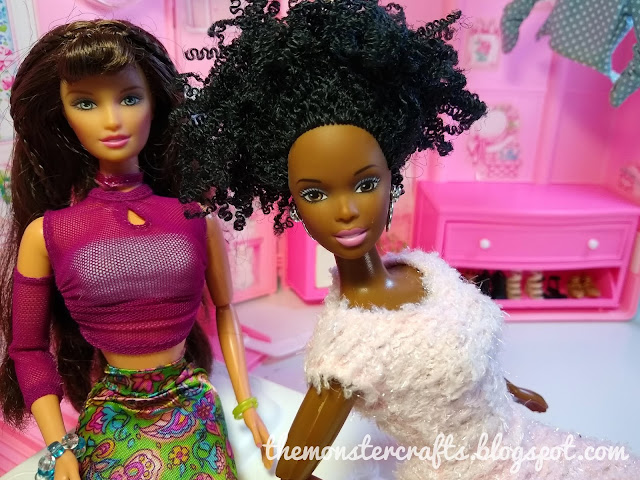
I did take a few pics of my dolls sitting on the floor just to showcase it for this post.
This craft was a lot of work, but overall I'm quite happy with the result. I would like to make another one in a cooler tone at some point in the future, but probably next time I'll make it smaller. In the meantime, I have other ideas for floors that hopefully won't require as much time. I also don't want to see another popsicle stick for a while.
On a side note, I've also been making samples of all my acrylic colors. The idea behind it is to have a real swatch of the color dried down, not just to choose better colors for projects, but also to carry them to the store and not end up with repeated colors. I have colors from different brands, so remembering the names won't really help me out. Even within the same brand, they might have colors that look almost identical (Americana is guilty of this). Plus, we don't really remember colors as well as we think we do, so I think this is going to help me out.
These are not all of my colors, but most of them. I still have to swatch all of my metallic colors and a few more here and there, like the two I bought at some point while working on this post. I hope you guys enjoyed reading about this project because, quite frankly, it has taken me forever to finish it. I have a bunch of ideas and projects I wanted to do for fall, but I think I'm going to give some priority to sewing the next couple of weeks. If I don't take it more seriously, I will never learn. I can't just wait until I have "nothing else to do", because I always have something to do.
Wish you a great rest of the week, and I'll see you next time.
Monster Crafts


You did a good job MC even if it did take what you felt was forever. I was thinking, if this was too big, could you cut it in half, then sand and repaint one half in a cooler tone? It might free up more time to sew. 😁
ReplyDeleteTo me, the floor looks great with all the walls, but if I was to choose one combination for myself, it would be the aqua.
Big hugs,
X
Thanks Xanadu, I'm glad you like it. I don't think I could do that, not just because cutting it is going to be complicated, but also the remaining pieces would be too small. It's also too deep, since I don't place my dolls that far away from the wall. But don't worry, by this time next year I'm sure I will have forgotten how long it actually took and I will probably make another one.
DeleteThat is my favourite combo too. It does bring warmth to an overall cold scene.
Big hugs to you too.
Thanks Linda! I think the color of the varnish helps it look more realistic and less "crafty". Those samples helped me not go home with a repeated color last time I went to the store! Hahaha, I "spoiled" it on Shasha's blog. This morning I've been working on the pattern and it's actually harder than I think it would. However, I'm planning it to be worn under a jacket, so it won't be so noticeable if it doesn't turn out great.
ReplyDeleteHugs to you too!
Wow, these are looking so awesome, MC! They give such a cozy vibe to the photos. I've always wanted to do wooden floor palettes but arrggg, so many other things to do hahahha!
ReplyDeleteThanks Shasha! I wanted something that could give fall vibes to the photos. After a while of postponing this, I finally gave it a go. It's very time consuming, so what I did was try to set at least 40 minutes a day to work on it. It looks like you're not advancing much, but all of the sudden you'll see it's halfway done.
DeleteThanks for stopping by.
Is it? Wow, thanks so much! I thought it wasn't as time consuming! But I do need to make floors soon so your tutorial should be very timely, dear. Thanks mucho!
DeleteIf you end up doing it, let me know! (I don't know how I didn't reply to this earlier XD).
DeleteCongratulations on finishing the hardwood floor! I'm sure that took so long to make, so good job on seeing it through. Your dolls look great with it.
ReplyDeleteThanks Barb! It felt like an eternity, but now I'm happy I did it. I'm glad you like it.
DeleteThanks for stopping by!
Wow....your floor is impressive. The popsicle sticks are just the right scale and after you stained everything, the results are flawless. If you had just posted a photo without telling us what you did, I never would have thought I was looking at popsicle sticks! And yes, you should be quite proud. Many of our projects are a pain in the butt to produce, but well worth it when its all completed. Bravo!
ReplyDeleteThank you April! I do think that the stain is what gives it the realistic effect. There's something about the color of those popsicles that makes it look unfinished in my eyes. I'm actually really happy with how it looks, even though it was a pain to do. I'm already thinking of which color should I make my next wooden floor!
DeleteThanks for stopping by!
This is awesome! Thank you for sharing!
ReplyDeleteThank you!
DeleteThanks!
ReplyDelete