Doll furniture: the chair
Hello there! What have you been up to?
I finally managed to finish my chair! Yes, it took a while, but finaly here it is. It doesn't look exactly how I thought at the beggining, but I'm quite happy with the result. It's not perfect, but I'm not very crafty, so I think I did OK.
On my table post, I showed you a pic in which you could see the seat and two sticks. The process to make the seat was the same I used for the top and bottom of the table. I started drawing a design on a piece of paper and then copied into a cereal box. I think I did 6-8 more or less. Then, I cut the pieces and glued them together.
When everything was glued in place,I sanded the edges.
I cut two rounded incisions in the top part of the seat, so the sticks that are going to be both the back and the legs of the chairs can be glued there.
Then I cut the wooden dowels for the legs and back of the seat. I tried to do it using pliers, but they left an impression on the wood, so I used an small saw. On the picture you can see the impression on the dowel on the right.
I measured the height of the legs using a doll as a guide and marked it. Then I marked height of the front legs aswell and cut them. I didn't have anything to hold the sticks in place, so I had to ask Mr.Monster to hold them while I saw. Don't worry, I don't cut so close to my table, I just took this picture to show you the type of saw that I used.
I sanded a little bit the cut edges of the wooden dowels because my cuts were not perfect.
After that, it was time to glue everything in place. This time I used white glue and it worked so much better. Also, you can apply white glue using a brush, which will allow you more precission.
Now is time to put the smallest sticks in place. Let's start with the one on the bottom part. Honestly, glueing the smallest pieces was the hardest part for me because I don't have a very steady pulse.
Well, now it's starting to look like a chair.
The two final pieces were the hardest, as I had to make sure they were parallel. I actually dropped the first glued piece while trying to glue the second one a few times...
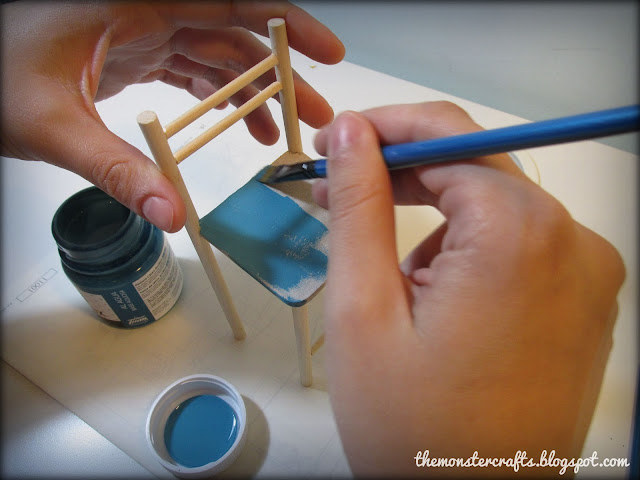
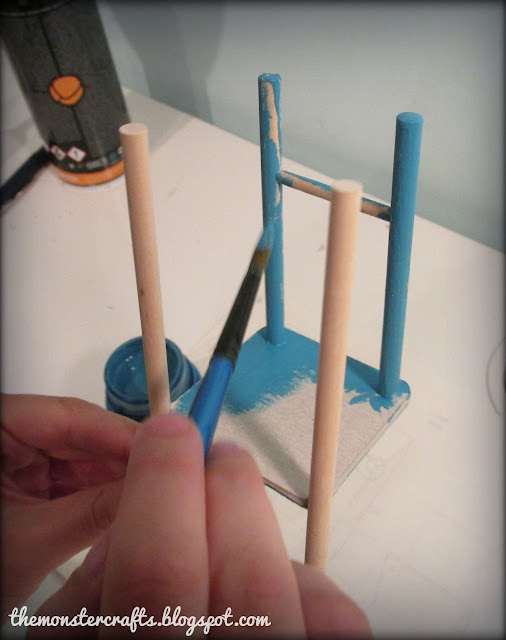
Once the glue was completely dry, it was time for some painting.
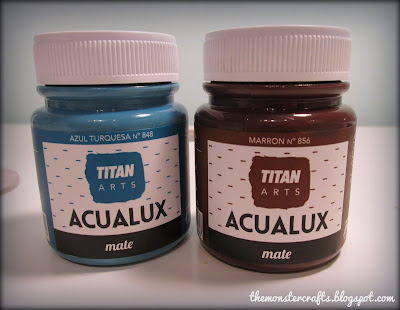
I really like the paint that I used, Acualux, from Titan, an spanish manufacturer. It's a water base craft paint that has similar resins to a water base enamel and it seems to be very good quality.
And finally, here's the chair fully painted. The color looks a little bit lighter than I expected, but I'm happy with the result.
When I tryied the chair with a doll, I noticed that the legs are a little bit too long. I must correct that on my next chair.
So what do you guys think? Any advices for future crafts? Have you been working on something?
M.C.


That is so neat! I love the finished product. Are you going to be selling them?
ReplyDeleteI am working on making paperboard windows actually, so they would go with your chairs, lol.
Hello Muff, thanks for your compliment! No, I'm not planning on selling them, I'm doing some crafts because I want to build a diorama for my doll photos. Also, when university starts again in september I won't have any time to craft, so my store would be empty.
DeleteI'd love to see your paperboard windows!
Cheers!
oh my!! I love it, and I love the turquoise color that you used :)
ReplyDeleteyou could ad an extra chair rung to hold the legs and add strengh and stability. but you did a great job
Hello Dom, thanks for your sweet comment. Yes, I thought I should add another stick between the front and the back legs while I was painting, so probably I'll do it later.
DeleteThanks for stopping by!
Looks nice! You could try folding some cardboard to keep things in place while they dry (like the small connecting bars). Just cut strips of the desired width, fold into something stable like a zigzag or |_| -shaped and rest the newly glued detail on the side of it.
ReplyDeleteHello BlackKitty! I didn't think of that, it's a really good idea. Usually I just press for a few minutes and then leave it for a while, but probably your tip is better.
DeleteThanks for stopping by!
Fantastic chair! I love how it turned out...I'm glad you found a way to make it without making those paper rolls. ;)
ReplyDeleteHello Farrah, thanks for your comment! The good thing about the paper tubes is that you can have them any thickness you want. Also, those wooden dowels were hard to find, so I'll probably have to perfection my paper tube tecnique.
DeleteWow, that looks good. I'll have to try that.
ReplyDeleteThank you so much April!
Delete