Upcycling again: transforming more tea boxes into doll-size shelves
Back in 2019, I wrote a blog post in which I transformed a tea box into a doll size shelf/bookcase to use as a prop for my doll scenes and dioramas. It was a pretty simple, yet effective idea that I wanted to keep exploring, but never did. In fact, by the time I published the post, I got two other boxes that have been sitting around in my doll room for about two years. Since I didn't have anything planned out next for the blog, I thought now could be a great time to give it a go.

On this post, I'm going to make two designs. The first one is the same I did in the original Upcycling post but in a different color, so I'm not going to get into much detail with that one. The second one is a taller one that I will explain a bit better, even though the technique is basically the same. As I did mention in the original post, I got this idea from Bonequea, a Spanish doll collector.
As I mentioned, the first design is the same box I did in my original post, except that this time I'm not glueng the legs. I did prime and give it a first coat of white paint several months ago.

Now, it's time to paint it. I don't know if you remember this, but at the end of one post I asked you which color should I paint it. Well, turns out I'm not using any of the colors you suggested, and instead I'm going with Sea Glass, by Americana Acrylics, which I didn't own back then.

This is the finished result:

I really do like this design. It reminds me of the Kallax bookcase from Ikea. I would like to make more of this in several colors, but these boxes are quite hard to find. While I was working on this post, I found a third box like this, so I'll be able to add another color to my shelf collection.
Now, let's move on to the second design. I got this box which is 25x9 cm (9,8 x3,5 inches), which will allow me to create a taller book case.

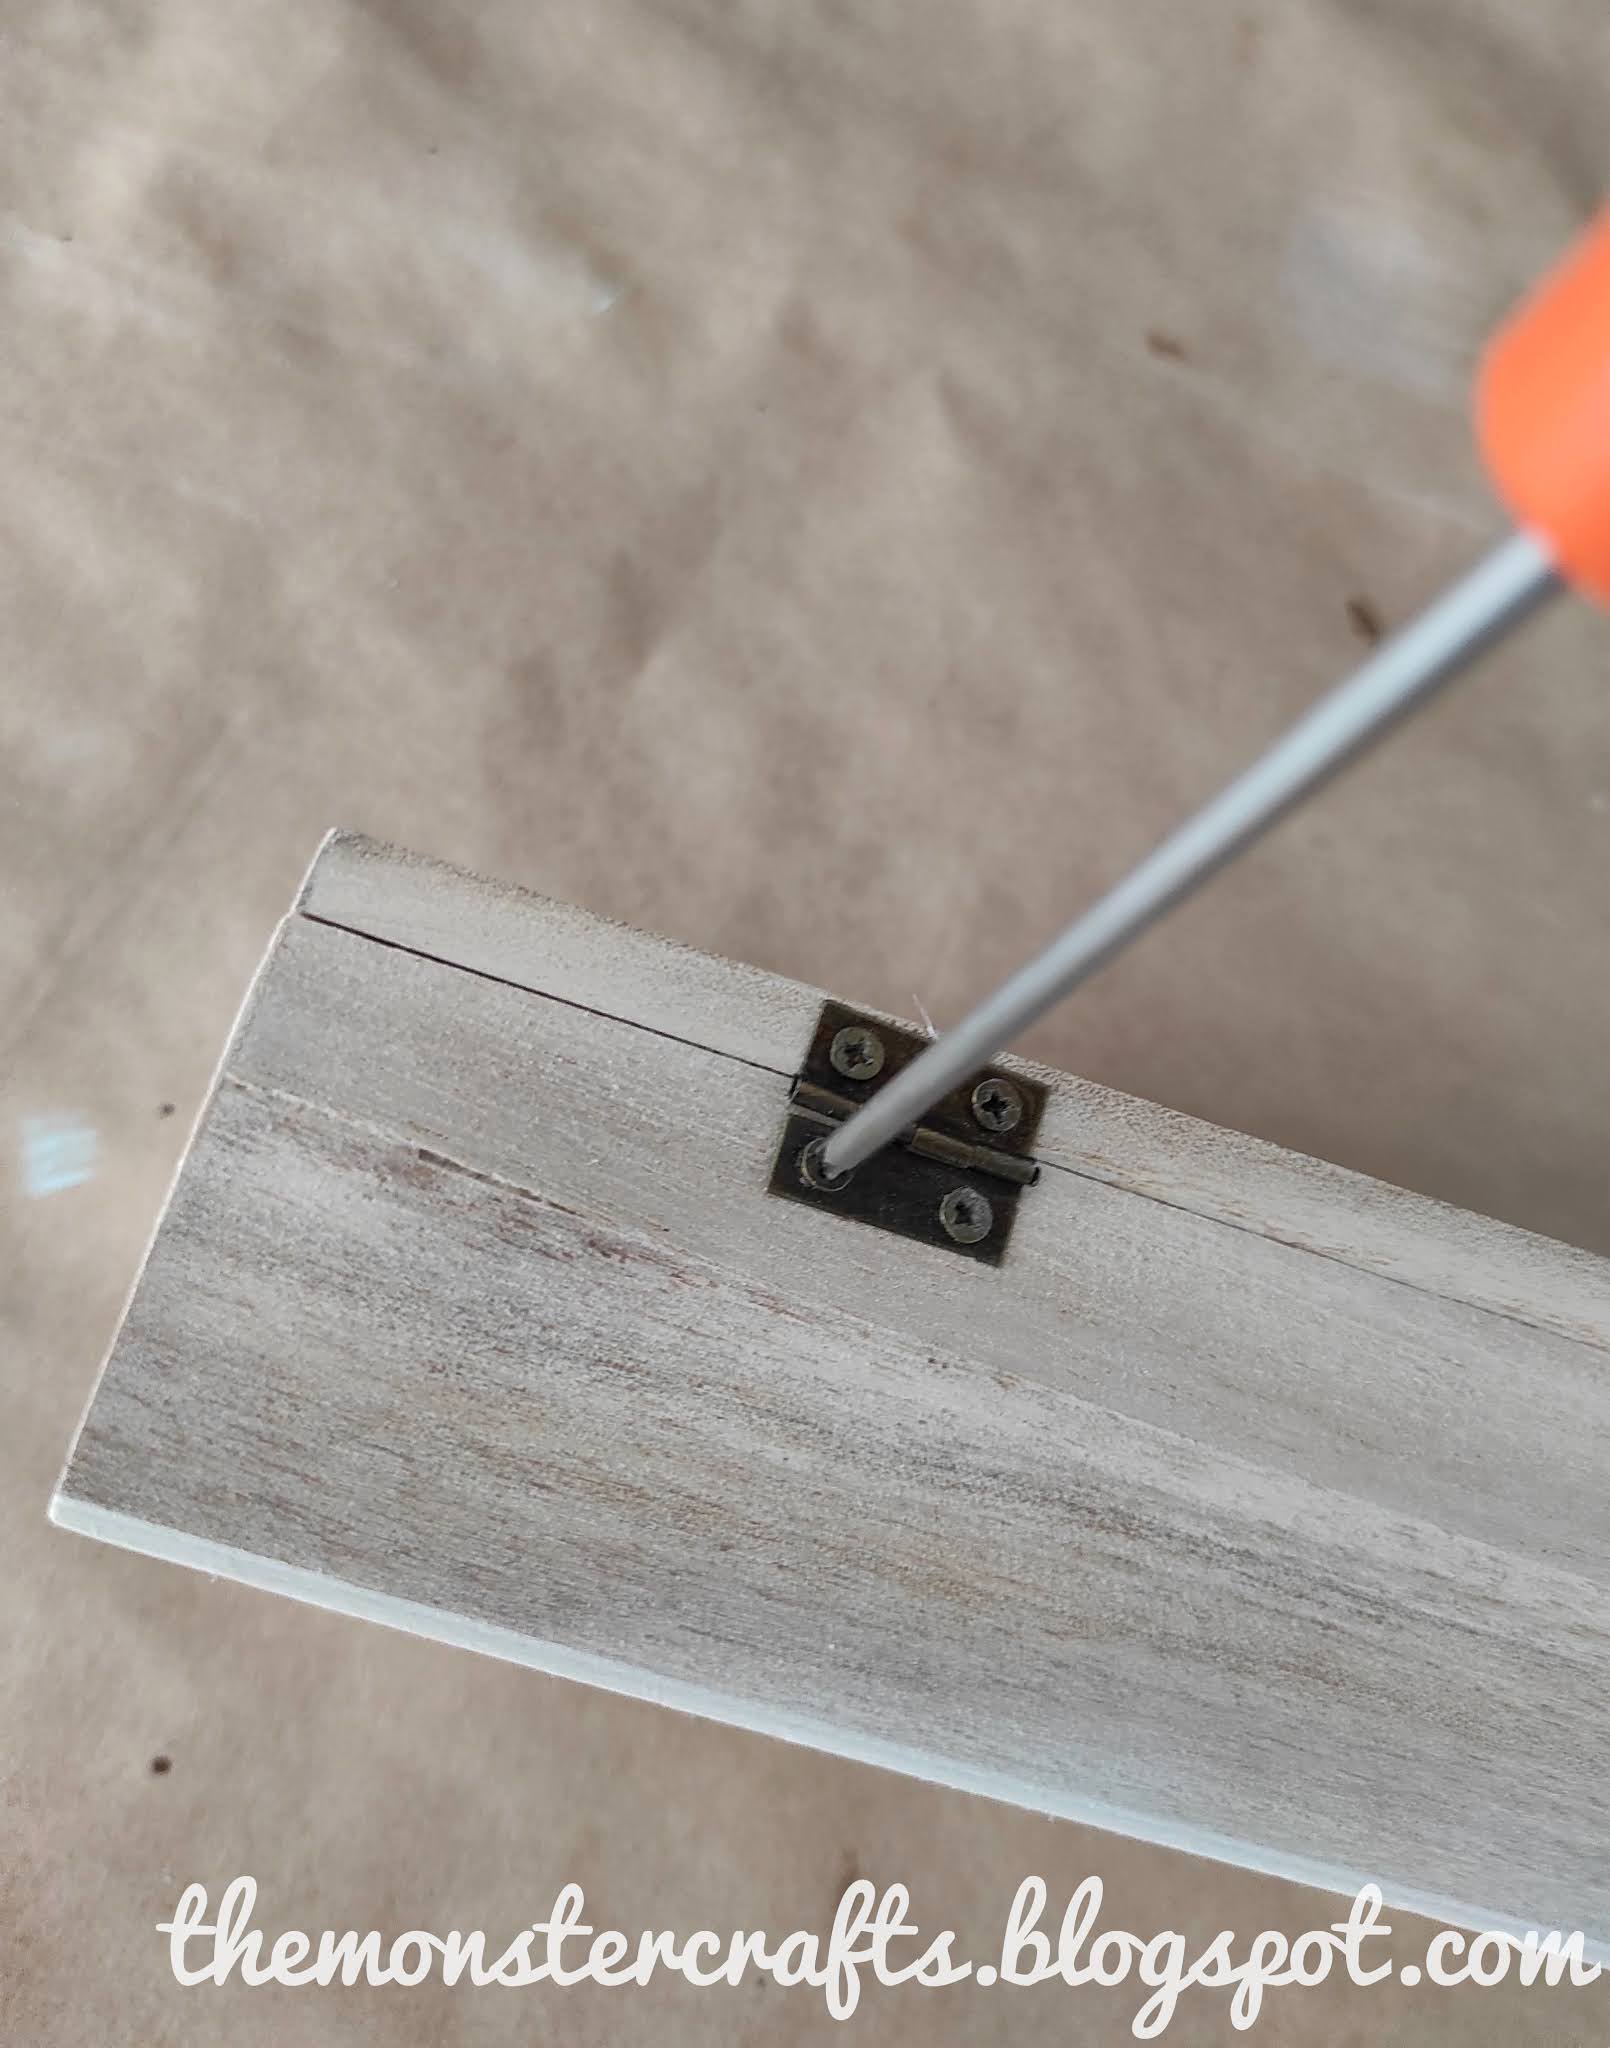
As in the first design, we have to remove the lid by unscrewing the hinges. Then I filled the holes with some wood putty.
As I mentioned in the previous post, this box has the word "infusiones" (infusions) written on the side, so we need to get rid of that. I sanded it a bit to wear it off as much as I can, but probably I won't be able to get rid of it completely.

Once I thought I had worn it out enough, I went ahead and primed the piece. I'm using gesso, but you can use any type of primer you would want to. As you can see in the photo below, the letters still come through the primer. I am concerned it will still come through the paint and I will need to give lots of coats.

Since I rather be safe than sorry, I decided to mix some white and orange and give it a coat of a peachy colored paint first. I got this idea from the makeup technique used to cover tattoos, also known as color-correcting. The theory is that an orange color will balance out the blue shadow the black ink has, since blue and orange are complementary colors. As you can see in the photo below, the peach paint has covered most of the ink.

I would recommend using a peachy color rather than a straight-up orange because it will be easier to cover, specially if you're using a light color. If you plan to use a dark color, you might not even need to do this step.
Once that patch dries down, it's time to paint. I'm using the color Dove Grey by Americana Acrylics. In the poll I made for the other design, Linda from Yéyé Dolls suggested using this color, but I ended up using it for this one.

It's a beautiful neutral shade with some purplish undertone. It comes out lighter on camera that it does in real life.
Now, let's see how our new doll shelves look on camera. First, let's try the green one against the Dove Grey wall. I'm not super proud of this set up, but I like the suble pop of color.

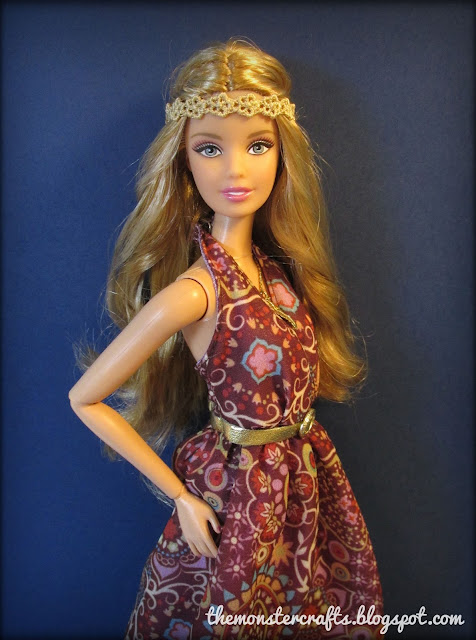
Before I started working on this post, I took a few photos with the Sea Glass shelf. I wanted to see how it would look with a wall in the same color, breaking it with a gray wainscot. Here's Blake:

Now let's try the grey one. I wanted to reverse what I did on the first photo with Chloe and try the Dove grey bookshelf against the Sea Glass wall. I love this color combo.

I recently made a new wall in a dusty pink. I used the color Pink Blush, from Americana Acrylics, and it looks beautiful. Let's use our new wall and see how it looks with the grey bookcase. Here's Rosie.

I love this color and how it looks against the dolls. I was a bit concerned it would look too similar to an orchid wall that I already have, but I think it's different enough. I'm considering using it for a future upcycling project.

Usually I do a quick bottom line about how I feel about my craft projects. Since I had already made this craft, I knew it would work out. I'm quite happy with the colors I chose (although that would have had an easy solution) and I think they're a nice addition to my doll furniture. I was concerned the grey one wouldn't be the right size, but it's perfect. I have a couple more boxes I can upcycle at some point in the near future.
As for future projects, I've just started working on the hardwood floor, and it looks like it will be a lot of work and popsicles. I hope I can have it ready by the end of the month or early October, since it could look nice for autumn/fall themed photos (even though over here we're still wearing shorts and tank tops).
I hope you are all staying well. Let me know if you are planning to do something similar for your dolls, as well as if you have other upcycling ideas.
See you soon!
Monster Crafts
PS. Atelier ni Shasha is having a weekend sale. Check out her last post for further info.
Check out part 1: Upcycling: transforming a tea box into doll furniture


Both units look great MC and your photos do them justice! I'm not planning on doing any painting for my dolls, but painting I will be doing very soon ... like as soon as I can get to pick up the paint!! My studio is having a facelift and I have chosen a very pale pink, very girly and not a colour I would normally choose for this room as I share it with hubby, but he has given the colour his approval.
ReplyDeleteBig hugs,
X
Thanks Xanadu! They're actually very easy to do, and they do the trick on photos. Good luck with the room makeover! The color sounds beautiful, and I'm sure it will look cute. Mine is actually a very pale blue, but it looks almost white on camera.
DeleteBig hugs to you too.
I find it amazing that doll people can look at an object which has nothing to do with the hobby and find a new purpose for it. It never occurred to me that such a box would translate into shelves! I don't buy tea in boxes like this but sometimes I get cookies or other things in boxes with partitions. This is an excellent use for them. As usual, your tutorial is simple to understand and your photos are simply perfect! Big hugs. April
ReplyDeleteHi April! I think that, the more you make things for your dolls, the more you will see everything in 1/6 scale. These were boxes that were sold on their own at like the equivalent of the Dollar Tree. I just assumed they were "tea boxes" because some of them had words like "Tea" written over them. But I would assume a jewelry box would work too.
DeleteThanks, I'm glad that you found the instructions easy to follow.
Big hugs to you too!
Your two new shelves look nice. You certainly put a lot of thought into your color compositions, and you were also clever with the peach color correction. I will be interested to see how putting your wood floor together goes. I plan to do one someday for my own dolls, but that's a project for the future.
ReplyDeleteThanks Barb! I'm glad that you like the color compositions. Luckily the peach correction worked, if not I would have had to give it coats and coats of paint. I haven't done much yet, but I think I've already posponed it enough. I think my dolls are tired of seeing the same floor on almost every single photoshoot.
DeleteThanks for stopping by.
Hi Linda! If it makes you feel better, it also happens to me more times than I want to admit. I'm also a very indecisive person, that's why it has taken me so long to finally make this and choose a color. Your suggestions have been in the back of my mind since then. I haven't been able to work on the floor as much as I expected, but hopefully later this week I will. Hopefully, it will give you an idea for yours.
ReplyDeleteBig hugs to you too!
Those are beautiful wooden tea boxes - something I don't find around here haha! But I do lots of upcycling, too for my diorama.. One of my favorites is the pendant lamps I made from a powder deodorant cap/lip. I made three for my izakaya diorama last year.
ReplyDeleteSome things just seem to be perfect diorama materials, right? I love the background wall colors, by the way. I'm planning to make new wall backgrounds again, probably in the next two weeks so your post is inspiring me a lot! Thanks, MC! Stay safe and well, dear..
Thank you Shasha. They're getting harder for me to find, specially because I try to buy affordable ones. I did see you lamps and they didn't look like deodorant caps at all! Great job!
DeleteI'm glad that you found my post inspiring. I love when someone gets an idea from one of my posts. I'm really intrigued to see your new wall. You too, stay safe and well.
Hello! Doing some catching up. Hope that you are well!
ReplyDeleteThose boxes are so neat for projects like that and sadly I have not found anything similar here. But I am going to keep an eye or two open. I know that some hobby stores have similar items, but that would not be upcycling, if you would buy one.
I like the 'darker' backgrounds - like the one with Chloe. It works well and everything pops out in a nice way. A simple project but an effective one for photo shoots!
Enjoy October, it is getting darker and colder over here.
Hi Niina! I get mine at those stores that carry goods from China and usually have affordable prices. I would recommend buying a cheap one instead of a fancy one.
DeleteLooking back the photo looks OK, but I like the others way more. I'm glad that you like it though.
It's getting colder here too, thankfully. At least I can work in my doll room withouth feeling I'm in an oven. You too enjoy October.